Showing posts with label CHRISTMAS. Show all posts

Sunday, 26 November 2017

STICKY TOFFEE PUDDINGS


Ever since the days started getting colder and darker (boo!), I've been craving warming, comforting foods. I'm loving roast dinners at the moment, especially since the girls have finally decided that they quite like them too. Isn't it a great feeling when kids suddenly decide - after months or even years of shunning a certain food or meal - that they DO like it after all? Of course, they might change their notoriously fickle minds again next week so I'll make the most of this while I can!

As far as I'm concerned, a roast dinner simply must be followed by a decadent pud, and you can't get much more decadent than a classic sticky toffee pudding. My version is made using individual basins and it is steamed to make the most deliciously moist, self-saucing puddings. And with Christmas Day being just four weeks away tomorrow (sorry to remind those of you who are still in denial), these mini puddings would make a great prepare-ahead alternative to the traditional Christmas pudding if, like me, you're not a fan.

Before I had kids to cater for, making cakes and desserts was my absolute favourite kind of cooking but, with less free time and more focus on healthy family meals, I've found myself doing less baking in recent years. I'd actually forgotten how easy this recipe is - sure, there are a few stages involved but none of them is especially difficult.  It's a great recipe to try when you have a little time to potter around in the kitchen.

I love the fact these desserts are portion-controlled (a single pudding will easily feed two children or one hungry grown-up) and any leftover puds can be whacked in the freezer for another day. Call me boring, but feeding my freezer makes me very happy!


Sticky Toffee Puddings

Makes 6

150ml boiling water
½ tsp bicarbonate of soda
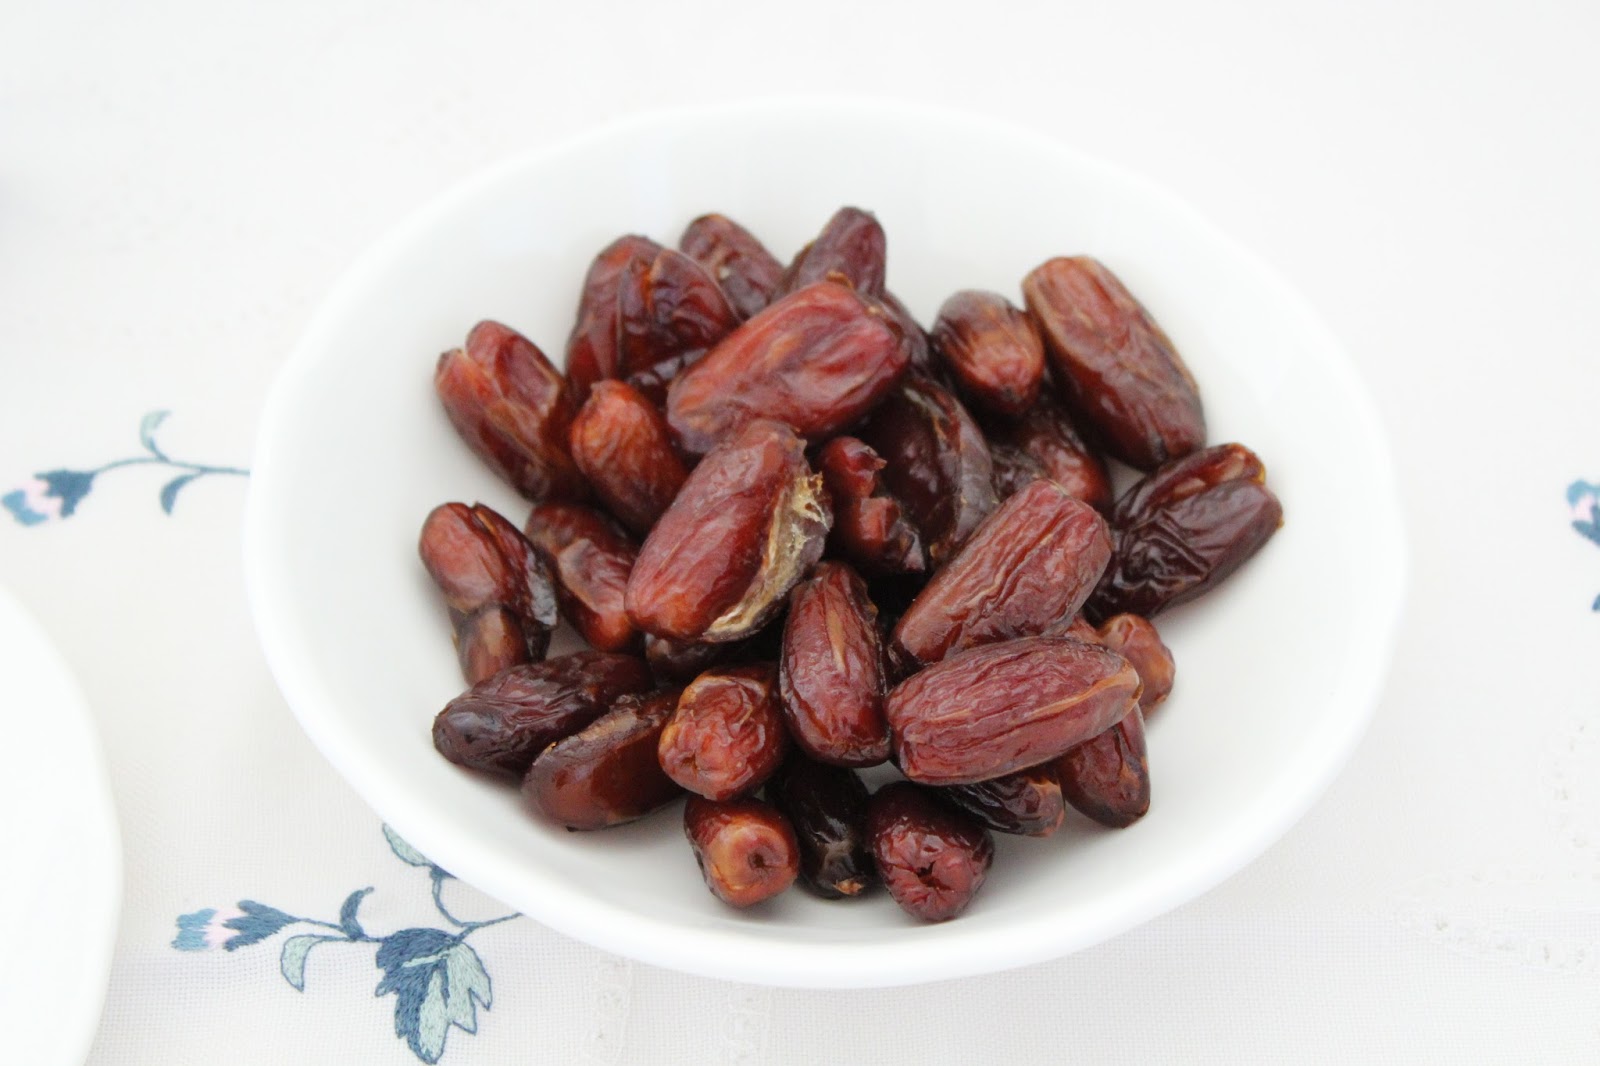
125g dates, chopped
175g plain flour
2 tsp baking powder
40g cold unsalted butter
125g caster sugar
1 large egg, beaten

Toffee sauce
140g dark muscovado sugar
85g unsalted butter
4 tbsp (60ml) double cream

vanilla ice cream, custard or cream, to serve

To make the toffee sauce, put the muscovado sugar, butter and cream into a small saucepan over a low-medium heat. Stir until the butter has melted and the sugar has dissolved, then gently bring to the boil. Divide the sauce equally between six 150-ml non-metallic pudding basins and transfer to the fridge for at least 1 hour. The sauce needs to set a little before you add the sponge mixture on top.

Meanwhile, pour the boiling water into a heatproof measuring jug and add the bicarbonate of soda. Add the dates and give a good stir, then leave to soak for 1 hour.

To make the sponge, sift the flour and baking powder into a large mixture bowl. Rub in the butter until the mixture resembles dry breadcrumbs, then stir in the caster sugar. Drain the excess water from the dates (reserving the liquid), then gently stir the soaked dates and beaten egg into the flour mixture to form a dropping consistency (adding more of the reserved liquid if needed).

Remove the pudding basins from the fridge and divide the sponge mixture equally between them. Cover each basin with a square of aluminium foil, pleating it in the middle to allow for rising. Place in an electric steamer and steam for 40-45 minutes, until the sponge springs back when pressed.  

Tip out the individual puddings onto a plate, scraping any remaining sauce out the basins with a small spatula. Serve with vanilla ice cream (our favourite), custard or cream.


Tips

  • This is a great make-ahead recipe - make a few days ahead, then give each pudding (still in its basin) a 45-second to 1-minute (depending on wattage) blast in the microwave just before serving. Remember that heating more than one pudding at a time will take longer.
  • Any leftover puddings should be frozen as soon as possible (still in their basins). They can be reheated from frozen - 1-1½ minutes in the microwave should do it, but make sure they're piping hot all the way through before serving.

Thursday, 29 December 2016

NO-BAKE WHITE CHOCOLATE & RASPBERRY CHEESECAKE


I made this cheesecake for one of our Christmas Day desserts this year (to go with the more traditional offerings of sherry trifle and Christmas pud). It proved popular with everyone so I've already decided that cheesecake will be a permanent feature of our Christmas Day menu in future. Yum!

The great thing about this recipe is that it is really easy to adapt. You don't have to use white chocolate - dark chocolate and milk chocolate work just as well - and you can also use different varieties of biscuits in the base or fruits in the topping. I chose raspberries because they're my oldest daughter's favourite fruit yet we don't have them very often, and they have the additional bonus of being a rather festive colour!

Here in the UK, this style of cheesecake with a biscuit base and cream cheese topping is probably more widely known than its baked counterpart. Not all recipes will contain chocolate in the topping but I find it a useful ingredient because it means that the topping will set without using gelatine. Besides, what recipe can't be improved by chocolate?

I haven't even mentioned the best bit yet. This recipe is so easy to make. Standing-on-your-head-with-your-hands-tied-behind-your-back easy! There's no baking involved (just a bit of gentle mixing) and it can be made in advance too. The only thing that could possibly go wrong - and I'm only mentioning this because it has happened to me - is that you could burn the chocolate when you melt it. Consider yourself warned!


No-bake White Chocolate & Raspberry Cheesecake

Serves 8-10
Biscuit base
175g digestive biscuits
75g unsalted butter, melted

Topping
225g white chocolate
150g full-fat soft cheese (I use Philadelphia)
20g caster sugar
375ml extra-thick double cream
225g fresh raspberries
white chocolate stars, to decorate (optional)

Line the base of a 20-cm round springform cake tin.

Crush the biscuits to make fine crumbs. Place in a bowl, pour in the melted butter and stir until the biscuit crumbs are thoroughly coated. Tip into the prepared tin and press down using the back of a spoon to form a base with an even thickness. Place in the fridge to chill whilst you are making the topping.

Break the chocolate into pieces and place in a heatproof bowl. Place in the microwave and heat on MEDIUM in bursts of 30 seconds, stirring in between, until melted. Set aside to cool slightly.

Put the soft cheese in a large bowl, add the sugar and mix thoroughly. Stir in the cooled melted chocolate, then gently fold in the cream. Spoon the cream cheese mixture on top of the biscuit base and smooth the surface. Return the tin to the fridge to chill for 3-4 hours, or overnight.

Run a sharp knife around the inside edge of the tin, then unclip the tin. Transfer the cheesecake to a plate and arrange the raspberries over the top. Sprinkle over the white chocolate stars to decorate, if using.


Tips
  • To crush the biscuits into crumbs, I tend to put them in a strong freezer bag and bash with a rolling pin. This is a job you can easily delegate to your kids - just keep an eye on them (mine can become a little over-zealous when it comes to bashing). You can do this using a food processor if you prefer.
  • Another way to melt chocolate is to set the bowl over a saucepan of  gently simmering water and stir regularly until melted. Just make sure that the base of the bowl doesn't touch the water and that none of the water gets into the chocolate.
  • Whichever method you use for melting the chocolate, it's best to remove the bowl from the heat source before the chocolate is fully melted as the heat of the melted chocolate should be enough to melt any remaining solid bits of chocolate. 
  • It is important to use full-fat soft cheese in this recipe because the topping won't set properly if you use a lower-fat version. It'll still taste nice though!  
  • I tend to use extra-thick double cream in this recipe for ease of use - you don't have to whip it before using, thus saving a bowl's worth of washing up! You can use regular double cream instead, but you will need to whip it until it forms very soft peaks before folding it very gently into the soft cheese and chocolate mixture.

Saturday, 24 December 2016

CLASSIC MINCEMEAT


Mince pies are a Christmas staple here in the UK. For anyone who's not familiar with this delicacy, they are individual sweet pies containing a mixture of dried fruits, sugar and spice called mincemeat, which despite its name doesn't contain any meat (unless you count the suet, although these days many British cooks use vegetable suet rather than the traditional beef suet). Over here, we can buy ready-made mincemeat in pretty much all supermarkets (well, at least we can around Christmas-time) but honestly it's so simple to make at home that I'm surprised that more people don't. Mincemeat can be made a good few weeks before you intend to use it; in fact, it should be made in advance to allow the flavours to mingle and mature. So apologies for my tardy posting of this recipe - it's admittedly somewhat late for Christmas 2016!

In our household, we leave out mince pies and real ale for Santa, and a carrot for Rudolph. Today, my 5-year-old insisted that we picked the biggest carrot we had so that the other reindeer could have a bite too!


If you plan to keep the mincemeat for a while before using it, it's important to sterilise the jars. I find that the easiest way to do this is to wash them in hot, soapy water, then rinse well, place on a baking tray and transfer to an oven preheated to 140°C for at least 20 minutes. Leave to cool down a little before adding the mincemeat because (1) you don't want the glass to shatter when adding the cold mincemeat to a hot jar, and (2) this will prevent the suet from melting.

I like to use a recipe for a sweetened orange-flavoured pastry that I found in Good Food magazine a few years ago when making my mince pies. I use a round fluted cutter for the bases and top with pastry stars.


Classic Mincemeat

Makes 3 x 450g-jars
150g each sultanas, raisins and currants
70g chopped mixed peel
120g peeled and grated Bramley (baking) apple
juice and grated zest of 1 large orange
juice and grated zest of 1 lemon
150g dark muscovado sugar
½ tsp ground mixed spice
½ tsp ground cinnamon
50ml brandy
70g vegetarian suet

Put all the ingredients in a large bowl and give them a good stir (yes, that's it!) Cover and leave to soak in the bowl overnight before transferring to sterilised jars. I give the jars a shake every couple of days as the liquid tends to sink to the bottom. The mincemeat should be fine to keep in a cool, dark place for a few months but store the jar in the fridge once opened.